

How To Repair Broken Wheel Diecast Airplane
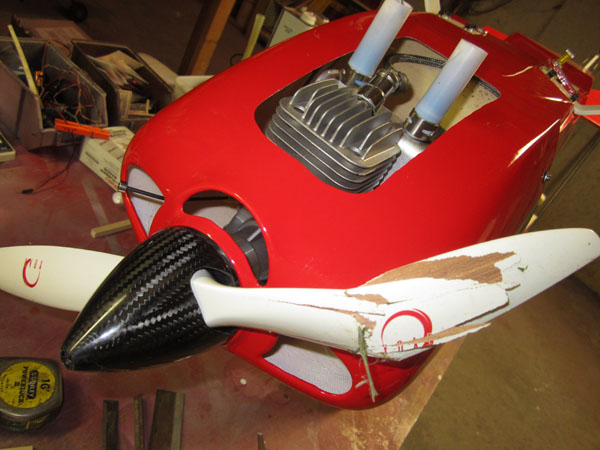
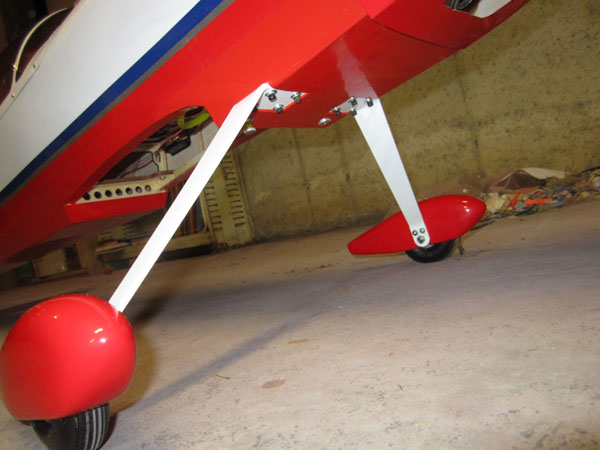
Damaged landing gear acquired by landing off-field is probably the single virtually common repair needed during an RC model's lifespan. While flying a 30cc Ultimate biplane from Aeroworks, an engine out on the downwind gave us a bad case of landing gear down.
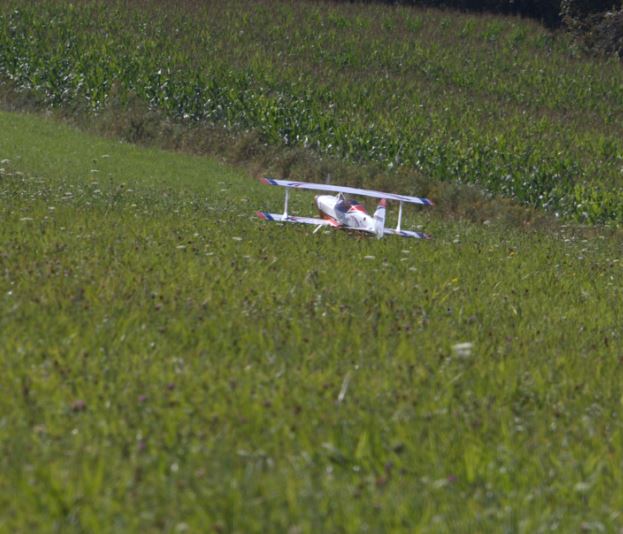
Test Pilot and MAN contributor Aaron Ham was doing an inverted pass when the plane went dead stick heading downwind and likewise depression for a safe 180 turn. So he settled the plane into the alpine grass at the end of the rails with a broken prop and desperately tweaked landing gear for his problem.
Hither are some tips to make this all too common repair, it can be done on various other ARF models with bolt on landing gear.
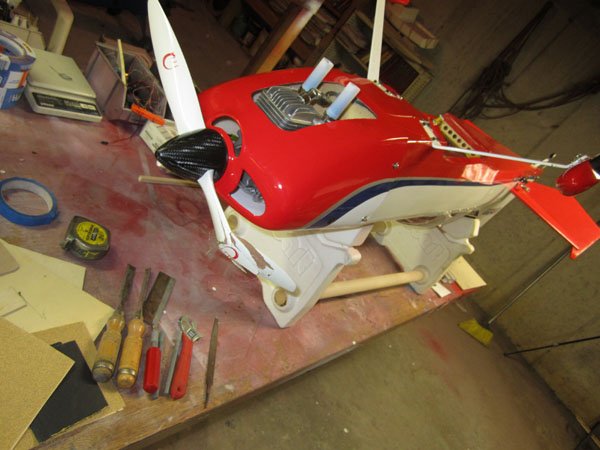
The Damage isn't terrible simply to exercise a proper repair y'all have to offset examine the plane and remove all the damaged parts.
Unbolt the gear and use a tray or pan to continue all the hardware and screws together and so you don't lose anything or have it get nether your plane to cause hangar rash!
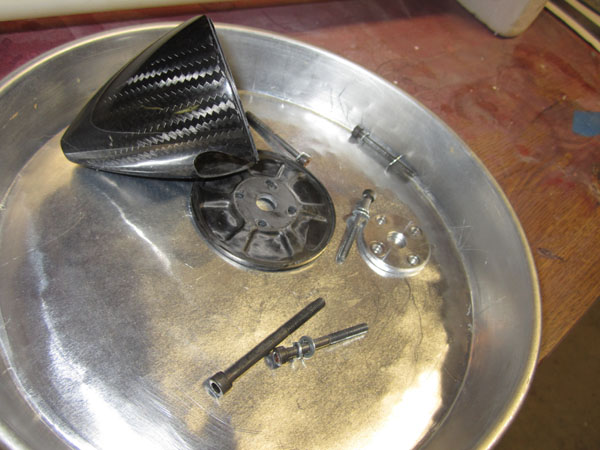
I always like to utilize a foam piece of work stand like the ones from Robart Mfg.
Of course since the propeller is also disrepair, remove the cowling and check the engine, firewall and engine mount.
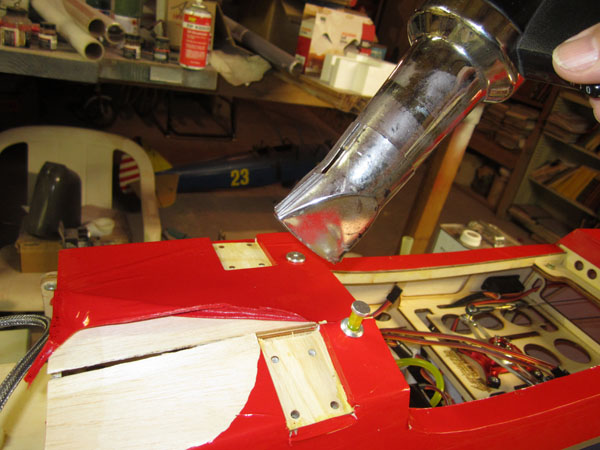
Once the gear and engine cowling is removed, you lot have to remove the covering. Utilise a Covering Heat Gun assail high to heat the roofing. It will over oestrus apace and begin to lift upwardly from the forest. Peal it away and when you get to the undamaged parts of the sides, utilize a abrupt hobby knife to brand make clean cuts in the covering so you can make straight repair seals.
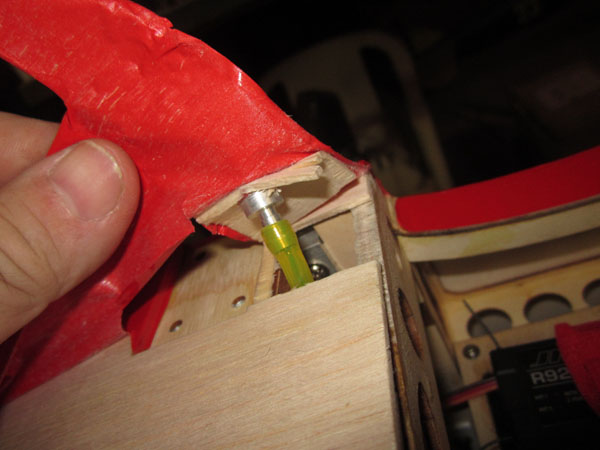
If y'all have whatsoever fuel dots or drain/vent fittings, simply remove the fuel lines and remove them and the surrounding sheeting.
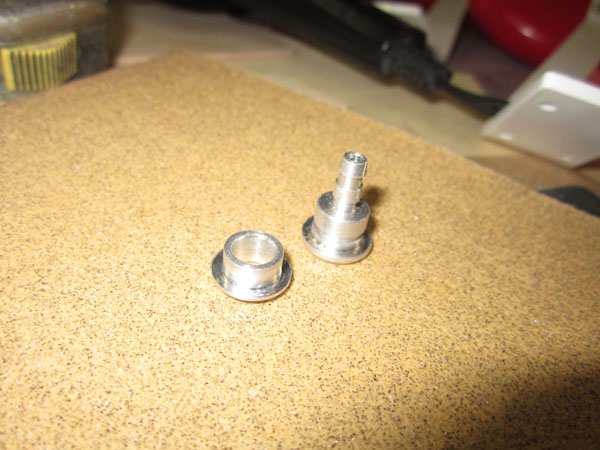
Clean off whatever glue and you can reuse the fittings
Remove all the damaged sheeting with a sharp hobby knife.
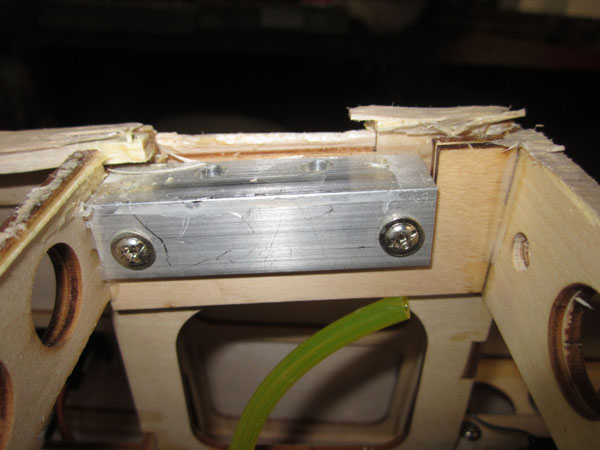
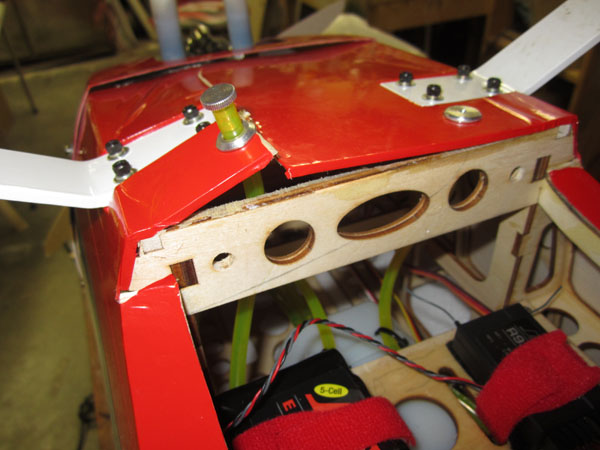
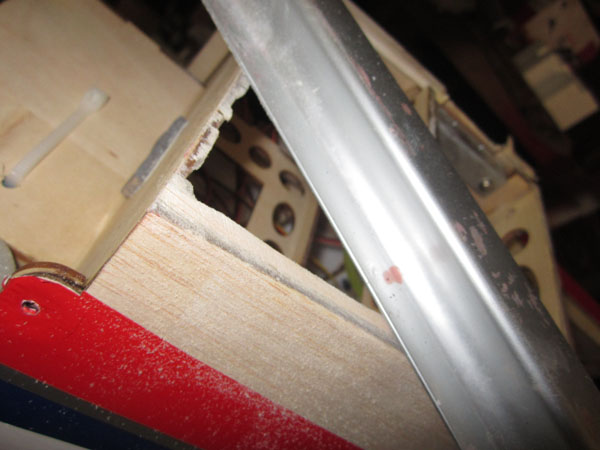
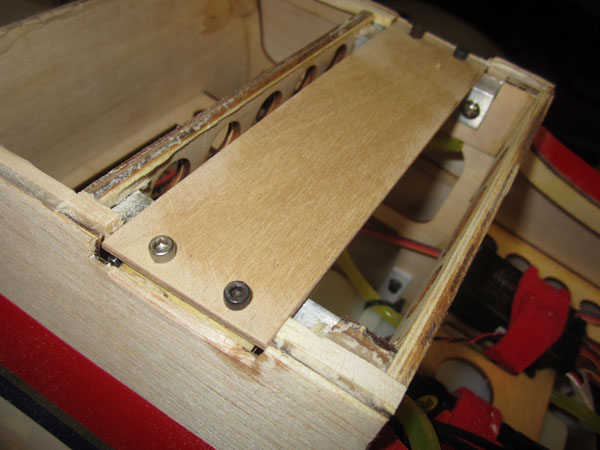
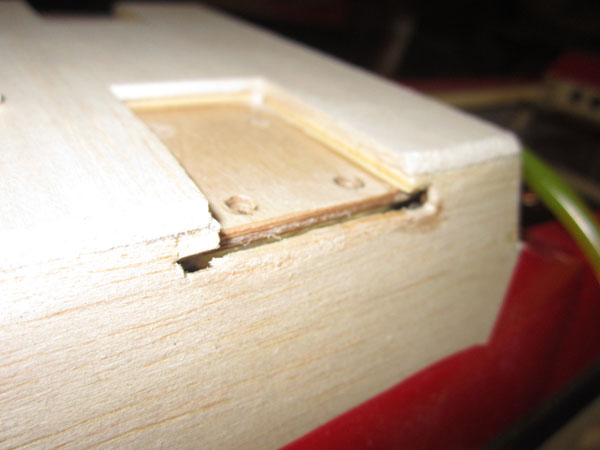
As you remove the damaged wood, exist certain to inspect the internal construction and make certain that at that place are no other damaged parts deeper in the fuselage and that all the glue joints are audio. Here yous see the aluminum support angle that ties the landing gear to the internal structure.

Remove the rest of the damaged sheeting from the repair area. I find a razor plane works great for removing cracked and split up sections of wood from the underlying structure.
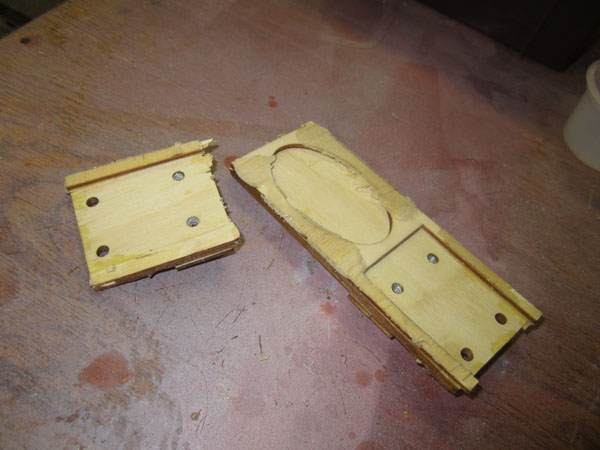
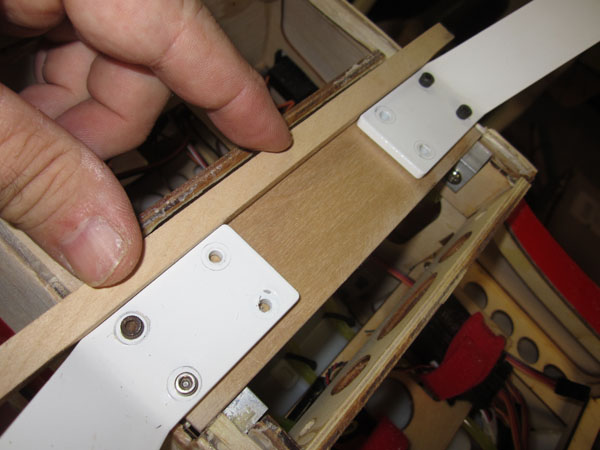
Remove the broken landing gear attachment plate and fix aside.
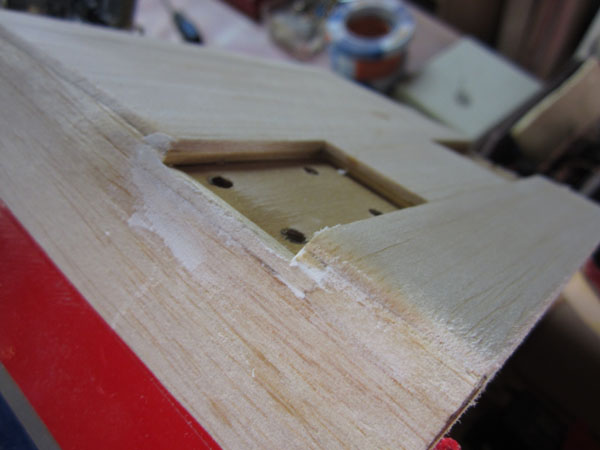
Finish cleaning up the underlying structures and sand the edges smooth with a sanding bar. This will allow the new balsa sheeting to brand a strong bail.
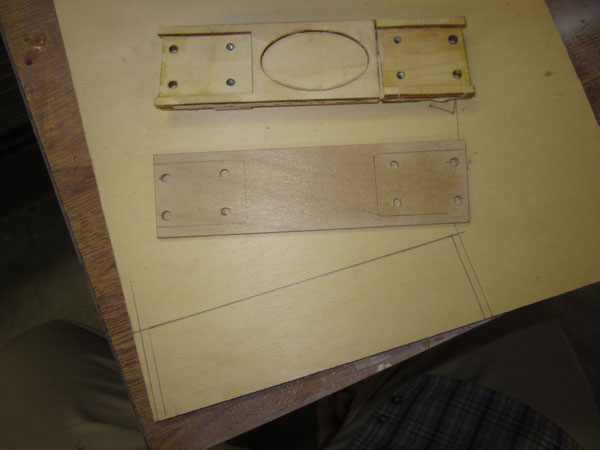
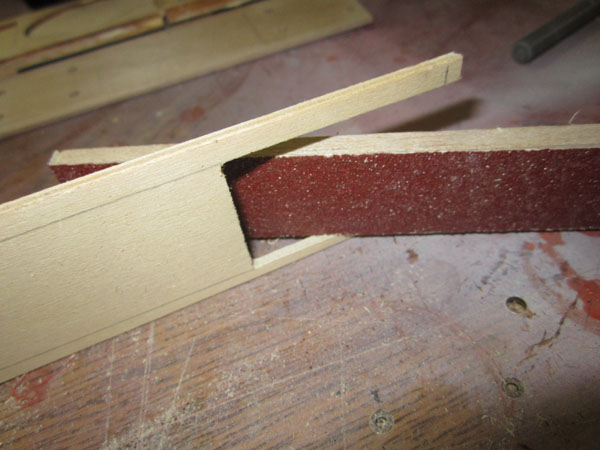
To maintain the proper bolt spacing, bolt the damaged parts of the landing gear plate back into identify and glue them together. This gives you lot an accurate template for making the replacement plate. After the glue dries, remove the old plate.

Place the old plate over some i/8 inch Aircraft grade plywood and trace its outline. Accurately transfer the outer commodities hole locations besides.
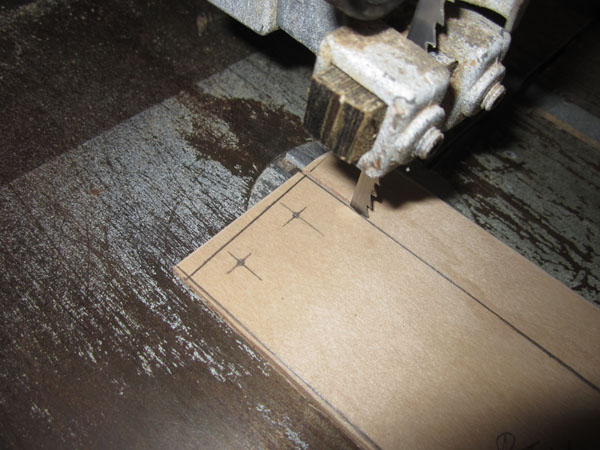
Cut the new plate out with a band saw then utilize a chugalug sander to smooth out the cuts to the pencil guidelines.

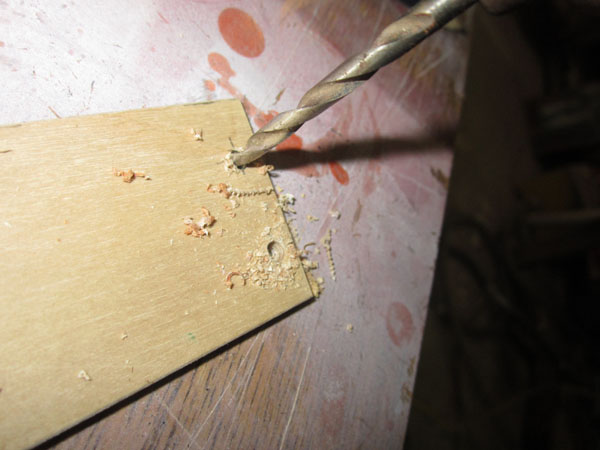
Sand the ends to the proper length and angle to lucifer the fuselage sides and then drill out the commodities holes on either end of the new plywood plate.
Examination fit the new plate and lightly bolt it into identify to make sure the bolts align with the threaded parts of the underlying metal angle supports. If there is a light misalignment, y'all can drill a slightly larger hole fto provide clearance.
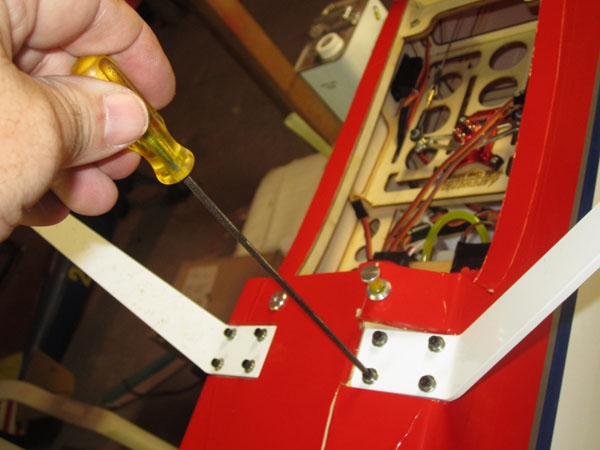
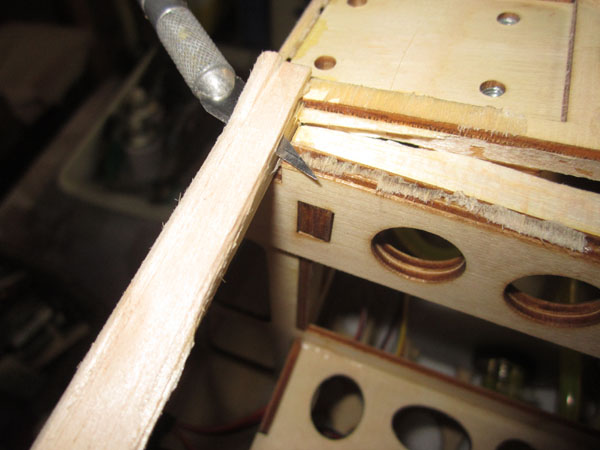
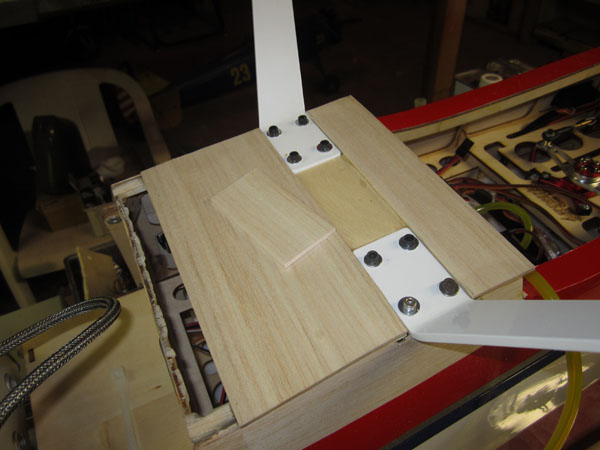
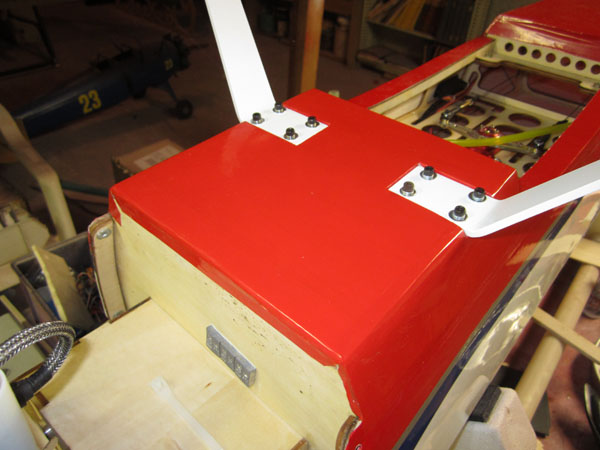
Bolt the landing gear in place as show above and use a straightedge stick to make sure the gear are directly and foursquare to the fuselage centerline. Once they are properly aligned, tighten the two outer bolts and so drill out the inner commodities holes. So trace the base of the gear.
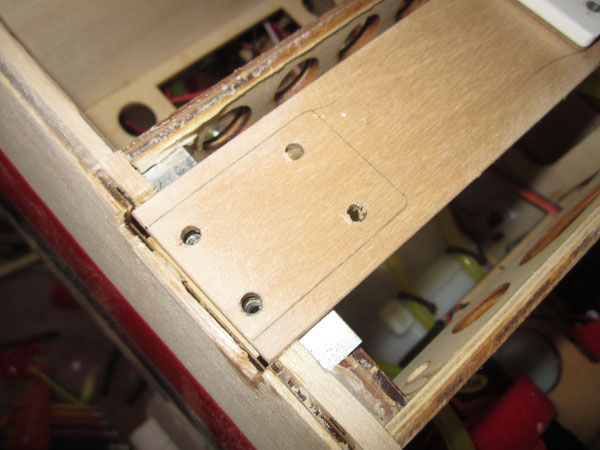
Here's the last bolt holes and gear guide lines.
Now use the new plate and trace out a lite ply spacer to form the recesses the landing gear volition fit into afterward the repair is complete. Yous as well take to add a little actress length to the spacer slice and then information technology overlaps the fuselage sides.
Cut abroad the center section the gear volition fit into and employ a sanding stick to clean upward the cutouts to fit the gear.
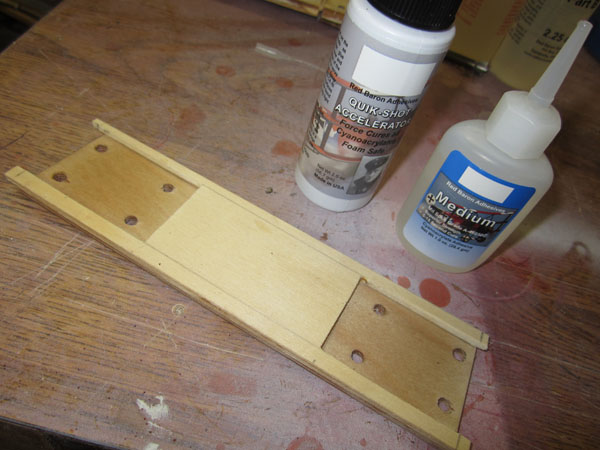
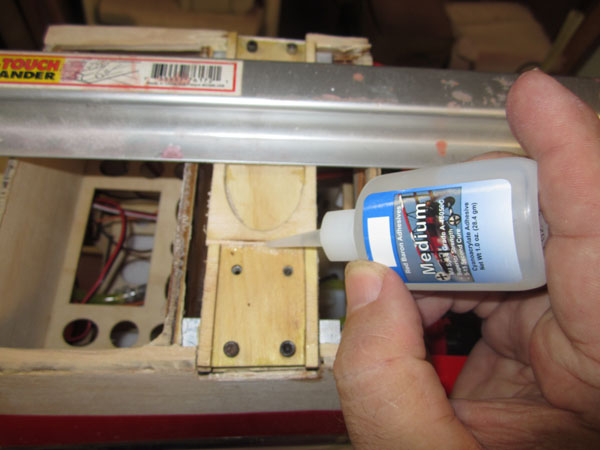
Carefully glue the spacer on top of the plywood plate adjustment the openings with the guidelines yous previously drew on the plate. Red Baron Adhesives Medium CA and accelerator is being used hither. Make sure non to get any glue inside the recess surface area.

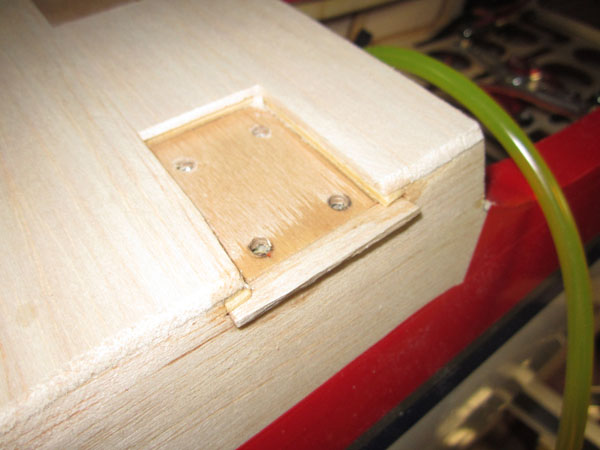
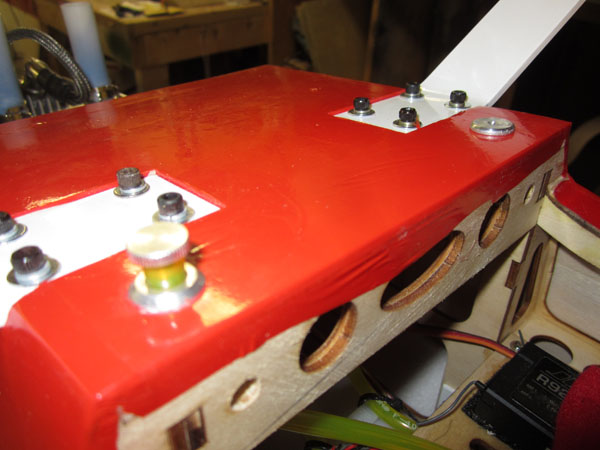
Use the cutaway part of the light ply spacer and glue to the underside of the plate centered on the inner attachment bolts holes. Drill out the holes then install blind nuts for the inner landing gear bolts. For this plane the bolts are 6-32 cap-caput machine screws and then 6-32 blind basics from the hobby shop are being used. I used a plastic face expressionless-blow hammer to set the blind nuts into place, then I utilise medium CA to secure the wings of the blind basics. be sure not to get whatsoever glue in the inner threads.
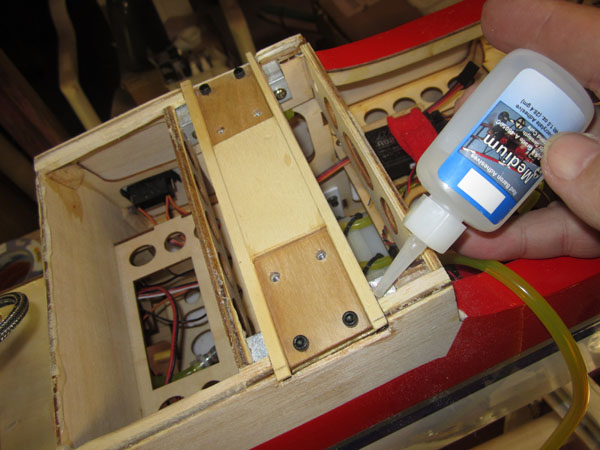
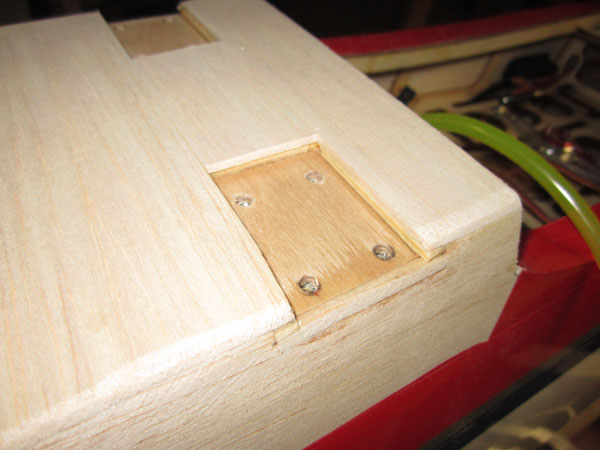
Using the outer bolts secure the new gear plate to the fuselage, applying adhesive to all the mating surfaces. Reddish Baron Adhesives' CA make excellent bonds to metallic and forest, merely use only a small corporeality so it does not get into the threaded areas. Properly glued into place, the top of the lite ply spacer should be flush with the superlative of the surrounding structures.
Cut the new balsa sheeting to size (I used iii/32 inch sheeting), and glue it into place, Leave a small space between the edges of the landing gear bases and the edge of the sheeting. A adept way to make neat gue joints is to apply the glue to the model and and then spray the accelerator to the underside of the sheeting. And then place the sheeting into identify and hold for several seconds until the adhesives cures. Subsequently the large sections are glued in place, cut the centre sheeting piece to size and glue information technology in place betwixt the landing gear bases to course the finished recessed areas.
Remove the landing gear and this is what you are left with. Fleck balsa sheeting will be used to fill the gaps.
Cutting the scrap to length and glue into place with thin CA mucilage.
Sand the scrap flush with the fuselage side and and then sand the corners circular with a sanding block. Employ 100 grit sandpaper so finish sand with 220 grit until everything is prissy and smoothen.
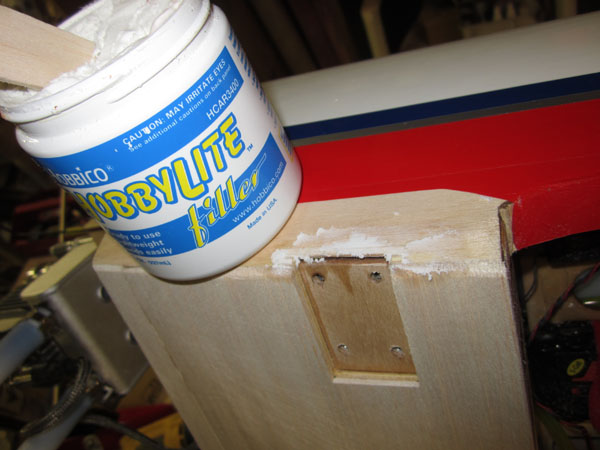
Apply some model filler ( I like Hobbylite filler from Hobbico,) and fill up any gaps or defects in the glue seams and let dry.
Utilise some 220 grit sandpaper and polish out the filler. The model'southward repair surface area is at present ready to be recovered.
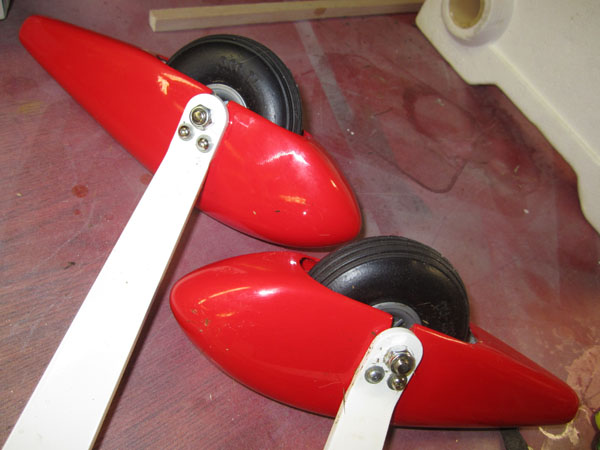
Before reinstalling the landing gear, now is a adept fourth dimension to clean them upwardly and to cheque for whatsoever impairment or loose screws needing to be taken care of. It is eaier now than when they are reattached to the model.
Make clean off whatever sawdust and clean the fuselage covering with some solvent to properly degrease the surface so fe on some new covering material that matches the model's stop. Start from the eye of the repair surface area and piece of work outward pulling out the wrinkles every bit you go. Take your fourth dimension and brand all your seams straight and neat. Now bolt the landing gear back into place. If your hardware is bent or damaged, supercede with new bolts and washers.

A corking and quick fashion to make the holes for the fueling plumbing fixtures and drain/vent, is to use a sharpened piece of contumely tube. Bevel the inner edge with a sharp hobby blade and acuminate the outer edge with fine sandpaper. Press the tube cutter against the model and push firmly with a twisting motility to cut the hole. Side the tube cutter bore to friction match your fittings.
Reattach the fuel lines to the fittings and use thin CA glue to secure the fittings within the new holes.
Add a little thread locking chemical compound to the landing gear zipper bolts and tighten them securely into place. That's it! Reinstall your engine cowling, stick a new, properly counterbalanced prop back on your model, reinstall the spinner and you're fix for your next takeoff!

Source: https://www.modelairplanenews.com/unpublished-arf-landing-gear-repair/
Posted by: wetherbeewitteper1989.blogspot.com
0 Response to "How To Repair Broken Wheel Diecast Airplane"
Post a Comment